Growing tomatoes from seeds is not only cost-effective but also benefits yields that are tastier than any supermarket tomato fruit. You also have the advantage of choosing the variety you wish to grow.

However, growing your own tomato seedlings comes with extra work as well.
Did you know that transplanting the seedlings at the right time and into the right spot makes all the difference between an average plant and a productive plant?
If you’ve been wondering when to transplant seedlings from the seed tray, here is the answer: transplant your tomato seedlings from the seed tray into a bigger pot when they are at least 3 inches/7.5 cm and have at least a set of true leaves.
Easy to say, huh? But doing it can be scary and to make it right you also need to know some important things you must follow.
This article is here to help you out in learning when and how to transplant tomato seedlings from the seed tray.
But before talking about when to transplant them, you might ask why should you repot seedlings? Here’s why:
Benefits of Transplanting Tomato Seedlings from Seed Tray
You might feel that transplanting tomato seedlings from the seed tray is just extra and unnecessary work. But repotting them helps the plant develop a healthy root system.
When the plant has a strong and healthy root system, this can adapt easier to the outdoor life when you are transplanting it to its final place. It can also take up more nutrients and anchor your plant better.
By repotting tomato seedlings even 2-3 times before transplanting them into the ground, you ensure a high yield as well.
When Should You Repot Tomato Seedlings from Seed Tray?
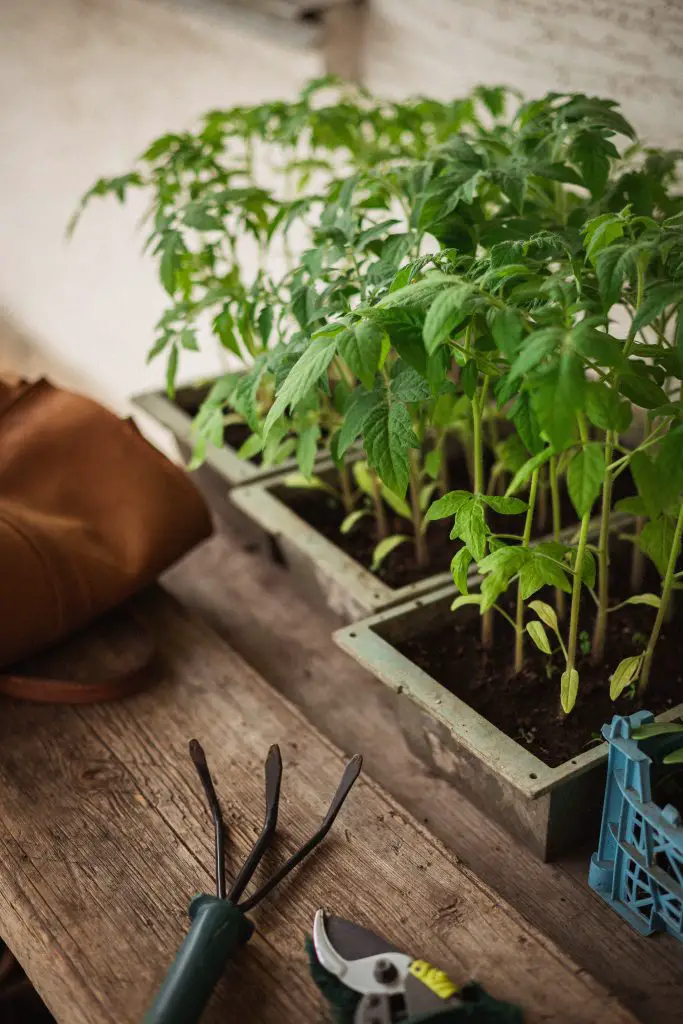
As I said earlier, tomato seedlings should be transplanted into bigger pots from the seed tray when they are at least 3 inches/7.5 cm and have their first set of true leaves.
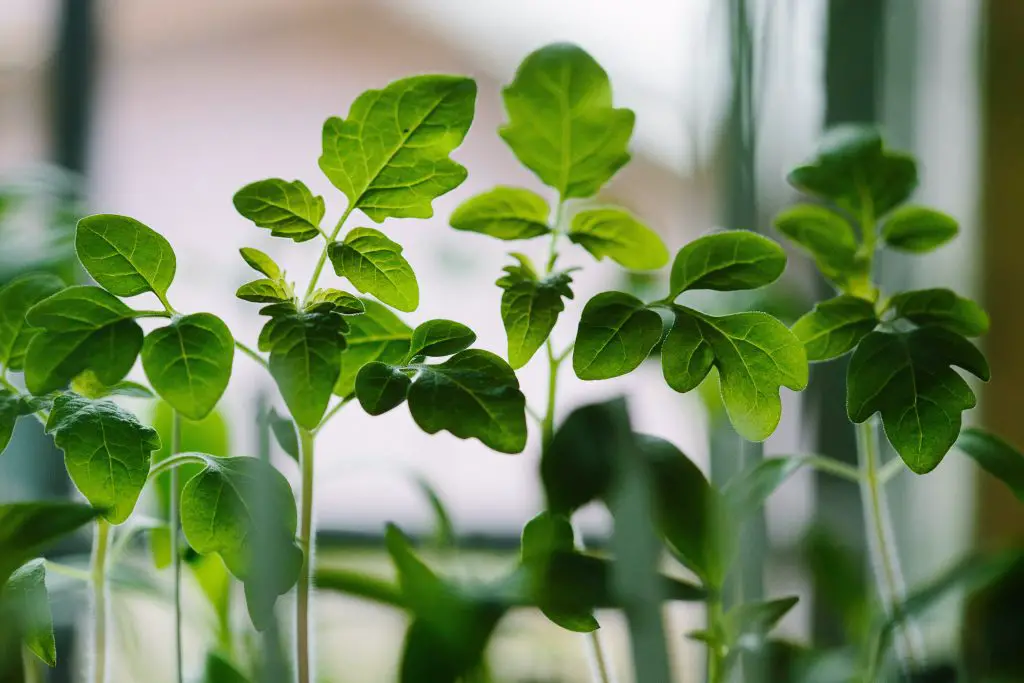
But don’t be fooled by the first two leaves that sprout from the seeds. These are called cotyledons which are embryonic structures from the seed. They provide energy and nutrients until the tomato seedling can provide it to itself.
So, the first set of true leaves will be the actual tomato leaves and will overtake the cotyledons’ role. Later, these embryotic structures will fade and fall down.
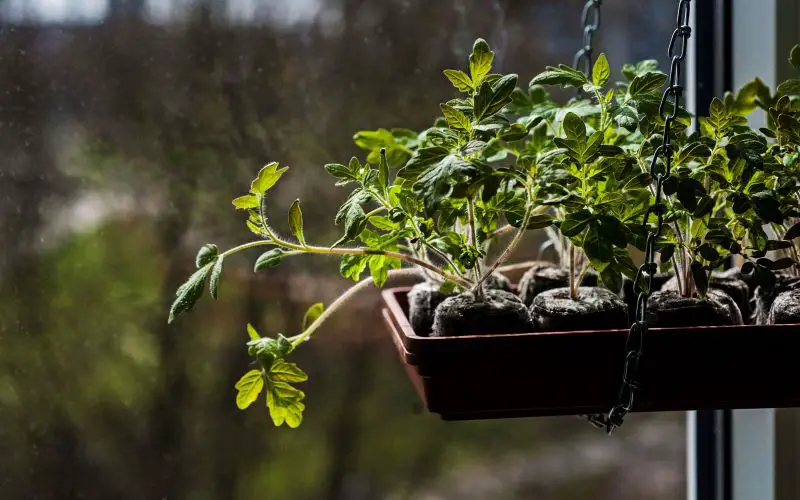
You can and you should repot the seedlings when they are leggy to stop them from stretching even more. When you transplant them, burying their stretched stem, encourages new root growth and this ensures healthier and stronger plants.

How to Transplant Tomato Seedlings from Seed Tray?
As I stated above, transplanting seedlings into bigger pots can be beneficial in terms of yield. To ensure that you are not missing anything, I prepared for you all the needed steps in the transplanting process.
This procedure is not complicated nor difficult, but there are some tips and tricks that if you follow, can make your task easier and can result in healthier seedlings. The main focus is on the roots and you should disturb them as little as possible.
So, here we go:
Step 1:
Prepare everything you need for the procedure:
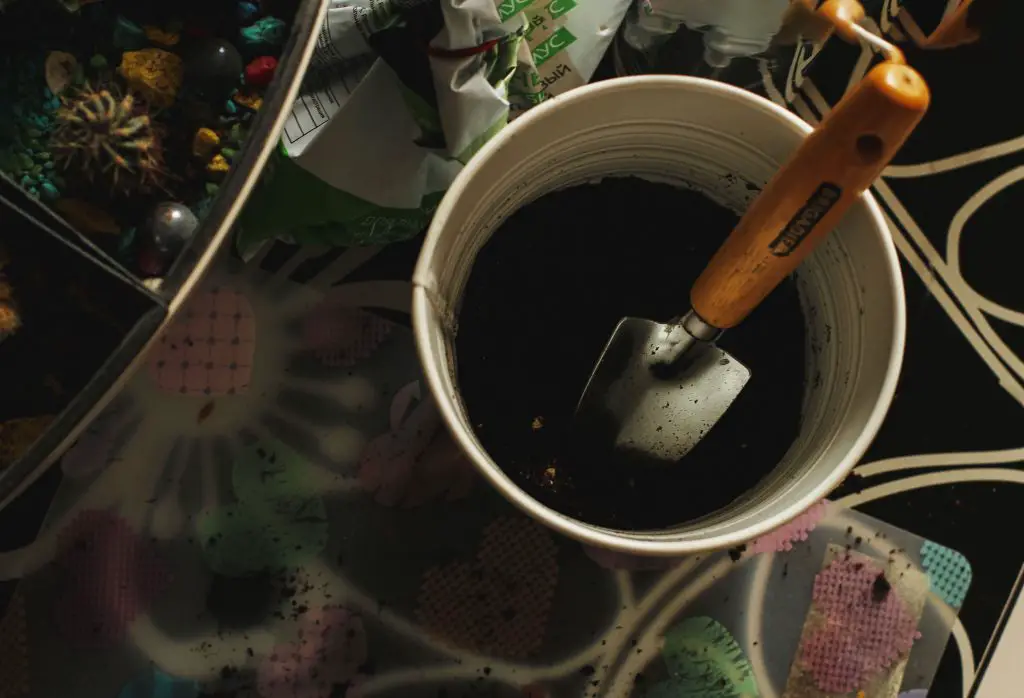
- pre-moistened, high-quality potting mix

- 4-inch pots, or even bigger, as you wish.
If you go for bigger pots, you might get away with only one repotting, instead of two. However, pots that are too big can retain too much water and this can lead to root rot.
The potting mix should be of good quality as this will be an important role in root growth. Moistening the soil before transplanting the seedling is essential.
Completely dry potting mix can be difficult to wet thoroughly; therefore, you can end up with uneven moist soil, or with water running through the soil without this becoming wet at all.
So, please do not skip this step if you want your seedlings to survive the transplant.
Step 2:
If you have more seedlings in the same pot, you can choose whether you want to separate them or you want to leave alive only one, which is the strongest.
I usually sow more seeds in one pot and transplant only the strongest and healthiest tomato seedling into a bigger pot.
However, if you choose to separate them, that is also a good decision, especially if they are not root-bound.
Water the seedlings to loosen up the soil and then remove the seedlings from the pot together with the potting mix. Be careful not to leave the roots drying out, as this can get damaged very easily.
Step 3:
If you choose to leave alive all the seedlings, separate them by handling them from the leaves and not from their delicate stems.
If a leave comes off or it gets damaged this can grow back. But if the stem gets damaged, unfortunately, you can say bye to your tomato seedling.
By pulling the seedlings by their leaves, wiggle them away from the potting mix. Any soil stuck to the roots should be left there. This way you can diminish the chances of root damage.
If you choose to leave only one seedling per pot, you can transplant it together with the soil into the larger pot and you just fill up the gaps with fresh potting mix. This way the roots of the seedling will remain in the same environment and won’t be disturbed; therefore, the transplant shock will be minimal or zero.
Step 4:
Fill up the pot with the fresh, pre-moistened potting mix. Tap the pot a few times so the mix can settle and fill up the gaps, then add more soil if needed.
Place the seedling in the middle of the bigger pot by burying its stem up to the lowest set of the leaves. Anything that is under the soil, will grow roots; therefore, the seedling can develop a stronger root system.
Then water the seedling until the water drains out at the bottom.
Fertilize the seedlings once a week, or as directed on the label of the fertilizer.
And this is it. You have successfully transplanted your tomato seedlings into a bigger pot. You can do it one or two more times until you are going to plant them into the ground.
Wrap Up
Now you know that tomato seedlings should be transplanted into bigger pots from seed tray when they have their first set of true leaves and they are at least 3 inches/ 7.5 cm tall.
By following my 4-step guide on transplanting you can manage to have healthy and strong tomato plants in the future.

